Step 1: Gather Your Materials
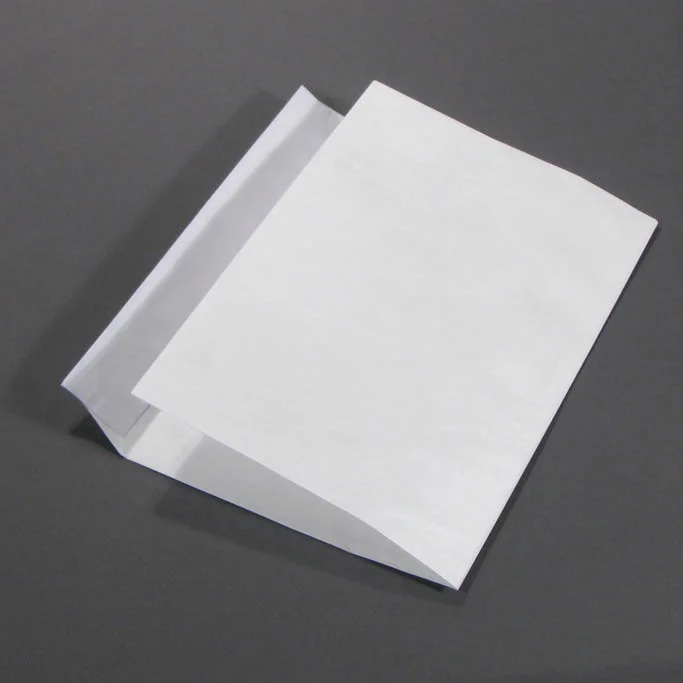
You Will Need:
A standard size self-seal Tyvek envelope (preferably 9 x 12 inches)
Double stick tape
X-acto knife
Cardboard (slightly smaller than the envelope, to use as a cutting mat)
Note: Establishing orientation terms is essential for clarity. The Top of the envelope is the open end with the self-sealing flap, and the Bottom is the closed end. The Vertical refers to the envelope's length (12 inches) and Horizontal to its width (9 inches).
Step 2: Initial Folding
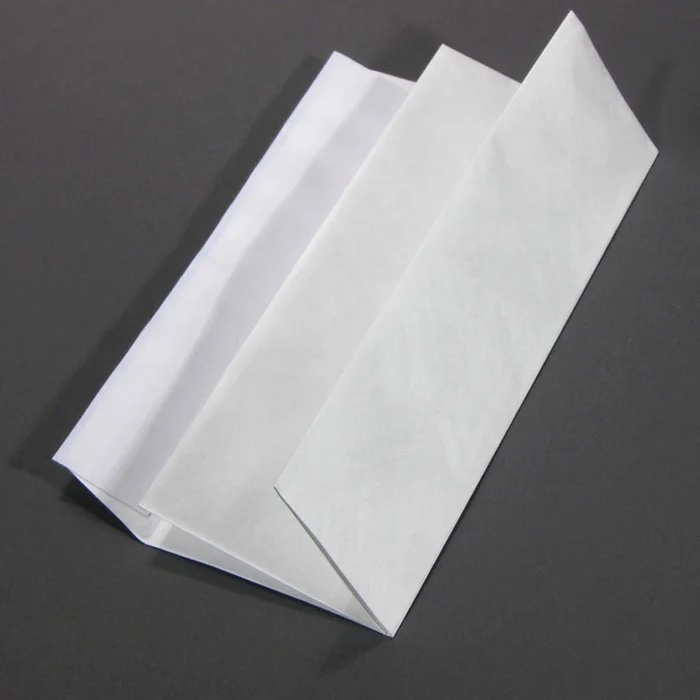
Place the envelope address side down. Fold it in half along the length (12 inches), bringing the bottom edge up to the self-seal crease on the flap. Make a sharp crease.
Step 3: Second Fold
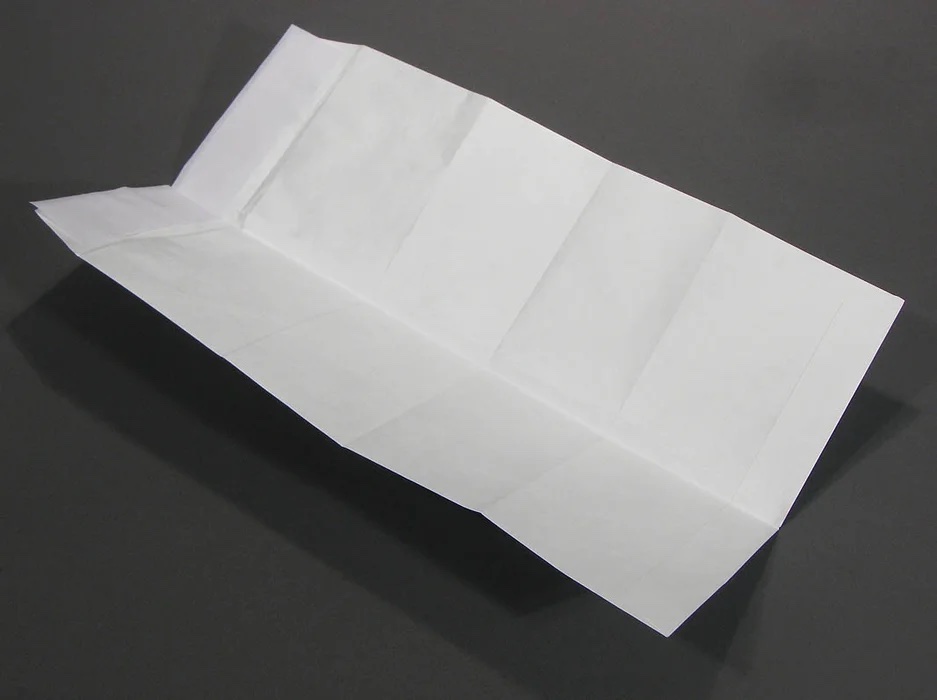
Measure 2 and 5/8 inches up from the fold (crease) and fold the envelope again along this mark, creating a sharp crease.
Step 4: Third Fold
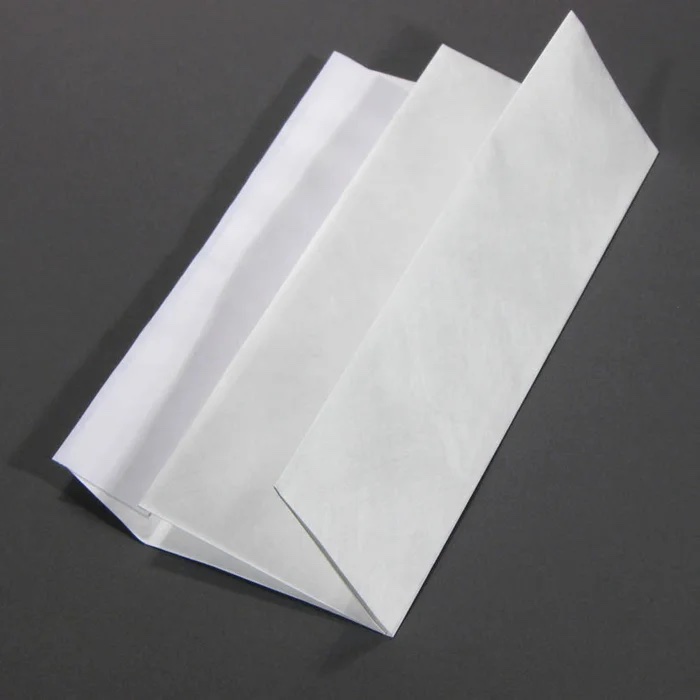
Unfold the entire envelope. Fold it along the width (9 inches), creating a vertical crease, then unfold it again.
Step 5: Making the First Cuts
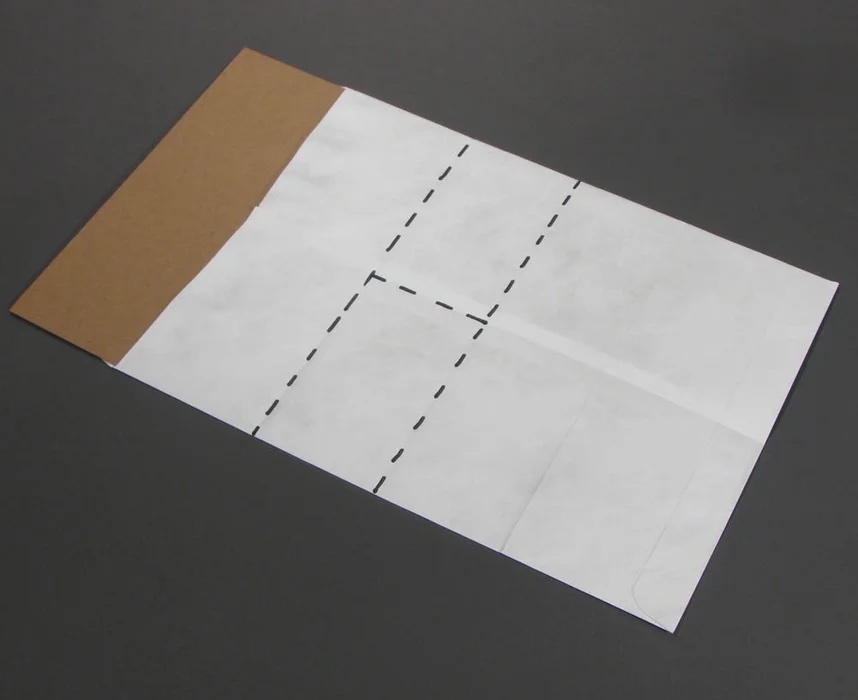
Place the cardboard inside the envelope. Cut along the top two horizontal creases, ensuring you only cut the back side of the envelope.
Step 6: Opening the Flaps
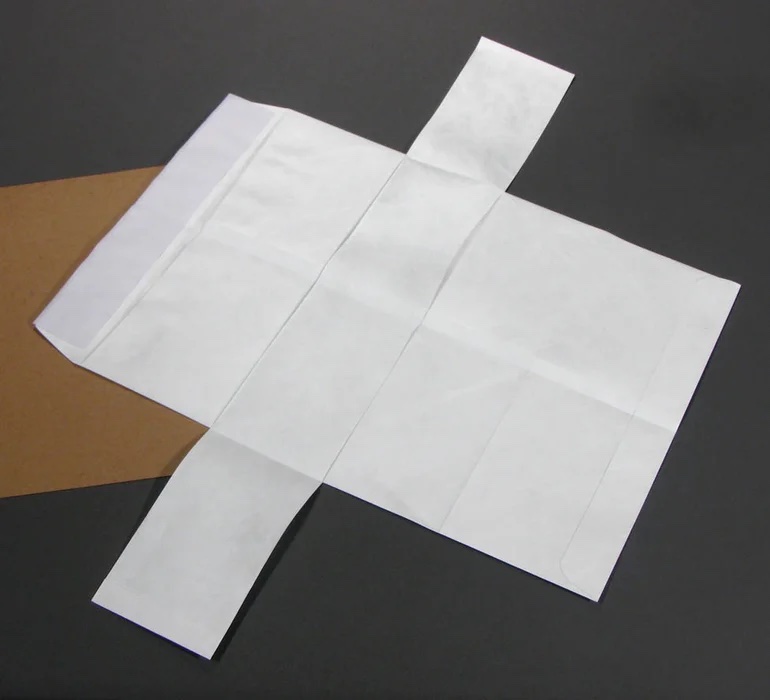
Remove the cardboard and open the flaps to the sides. Keep them out to avoid damage during further cutting.
Step 7: Creating a Circle and “I” Shape
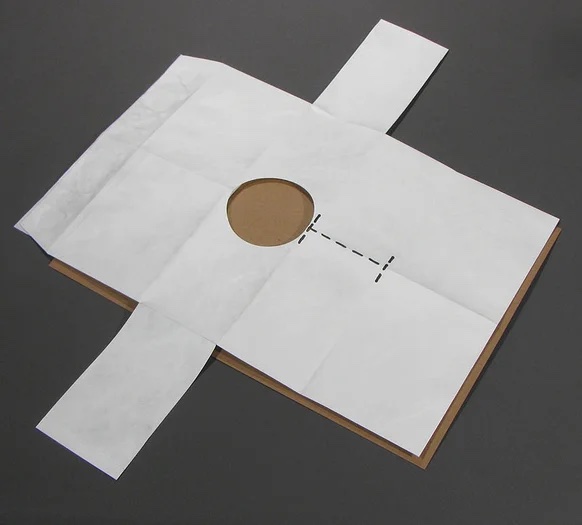
Flip the envelope address side up. Cut a circle between the top and middle crease using the vertical crease as the center. An ideal circle is 2 5/8 inches in diameter. Next, cut out a capital letter "I". Remove the cardboard, place the envelope on top of it, and cut the vertical fold beneath the circle, cutting through both sides of the envelope. Make horizontal cuts along the middle and bottom creases, each 1 inch wide using the vertical crease as the center.
Step 8: Cutting the Bottom Opening
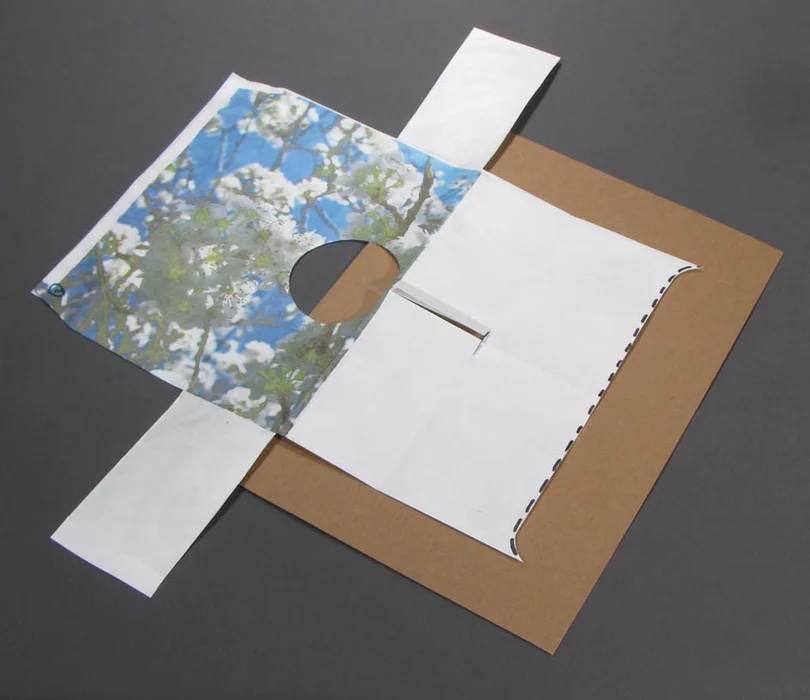
Cut an opening in the bottom of the envelope (cutting through both sides), about 3/8 inch up from the bottom. Create smooth rounded transitions from the bottom corners to the 3/8-inch cut. Use a dime, the seam of the envelope, or do it freehand.
Step 9: Decorating (Optional)
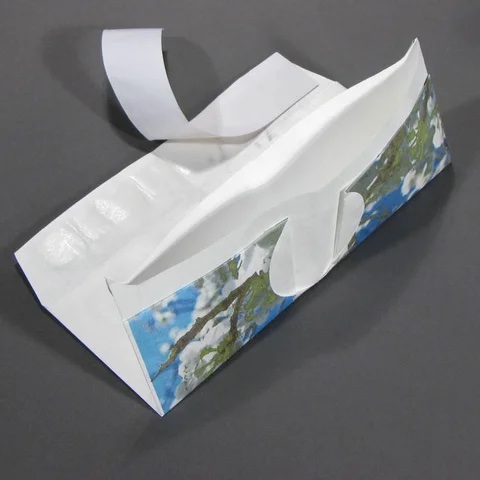
If you want to customize your wallet, use markers, ink stamps, spray paint, or other methods. Note: Printing directly on Tyvek with an inkjet printer is risky and can clog the printer head.
Step 10: Applying Tape
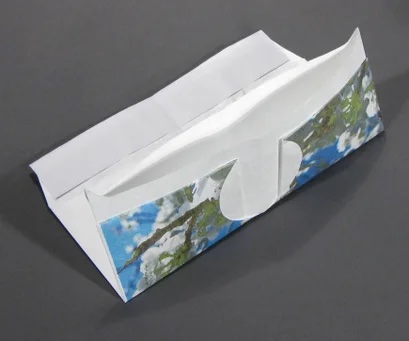
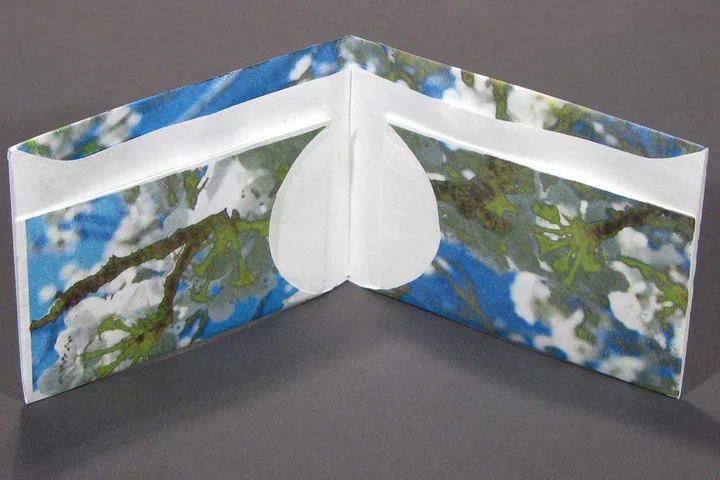
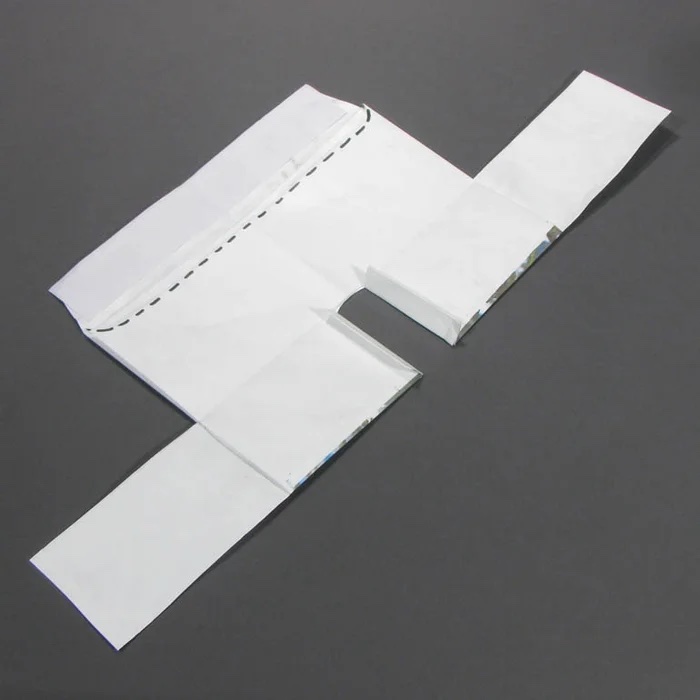
Flip the envelope address side down and fold it in half vertically with the flaps still open. Open the small 1/2-inch tabs and fold them out. Apply double stick tape to the side facing you. Fold the tabs portion up towards the self-seal flap and press down hard to secure the tabs, creating two credit card holders.
Fold down the credit card holders and flip the side flaps back inside. Place double stick tape across both flaps. Fold this entire section up and press down to connect the flaps. Finally, remove the backing from the self-seal closure, open the bottom of the envelope, tuck the self-seal closure into the opening, and press firmly to seal the wallet.
Congratulations! You now have a lightweight, thin, strong, and water-resistant wallet made from 25% recycled materials and 100% recyclable (grade 2).
Our Micro Wallets: The Ultimate in Durability and Design
Our Micro Wallets are designed to be the smallest, slimmest, and safest wallets available. At just 1.3mm thick, they are durable, waterproof, and eco-friendly, with space for 8 cards and cash, plus integrated RFID protection. Made from a continuous piece of Tyvek® smart material, these wallets are virtually untearable and highly resistant to wear and tear. Whether rain or shine, our waterproof Micro Wallets keep you protected, expanding over time without compromising durability.